To follow along with assets that are in-progress/currently being worked on, check HERE! Lots of assets!
Rambling(s)
We have arrived at Week 7! Which is exciting and nerve-wracking altogether. Lots of things to do. But! Who knew rendering low-poly trees in Blender was so much fun. Feeling good about these low-poly assets. They give me a kinda Planet Coaster/Firewatch/Unity kinda vibe. I think (hope) it will pair well with our animation style. Pixels + low-poly muted 3D assets gives a kinda grungy pixel ghibli look, hence our team name.
Goal(s)
There were lots as usual
- Begin progress on 3D assets
- Low-Poly Trees
- Dying Pine ?
- Dying Oak ?
- Low-Poly Trees
If time permits, begin work on…
- Low-Poly Cloud
- Low-Poly Rock
- Low-Poly Water
Accomplished Goal(s)
- Dying Pine ? has been completed
Missed Goal(s)
- Still need to make progress on Dying Oak. However, the actual asset creation does not take too long and bringing the objects to life is super fun.
This/Next Week’s Goal(s)
- Finish beginning progress on all 3D assets!
As the assets are low-poly, there is a lot of SHIFT+D (duplicate in Blender) which speeds up the process! Super nice.
Lesson(s)
Don’t procrastinate starting something! Especially during crunch!
Bringing objects to life in Blender proved more fun than anticipated! So another reason not to procrastinate as I just might find myself liking the process.
Forcing creative inspiration can be very draining in general and I 100% vibe with other artists that way. You definitely have to push through some things you’re not looking forward to doing, but if you can find fun in it, all the better.
Morale
It was low toward the beginning of the week and procrastination made it worse. I also had to miss our weekly meeting this week due to lots of family events going on. But after completing this tree, I’m feeling pretty good. Low-poly assets shouldn’t take too long and this is a super nice break from all the animation stuff last week.
Pipeline
I can give a super high-level description of my process on how I made a low-poly tree in Blender! Super easy to do and super fun playing around with the polygons on the tree.
Begin by making a cylinder and dropping the face count to around 5-6 faces. We’re keeping things simple here.
Duplicate it (SHIFT+D)! Move the cloned cylinder on top of the other one and stretch it around a bit.
Now, just mess around with it. Play around with the rotation, the skew, the stretch! It doesn’t have to look perfect right now. Just focus on the structure. I went for a very angular look so the trees can look kinda creepy.
Keep duplicating (SHIFT+D) the newest piece you made. Repeat it about 3-4 times! Make the blob slightly smaller each time, rotate it, whatever you have to do to make it look visually interesting. Balance is key! Just like anything else in art.

Basic 
Getting there 
Making tweaks! 
Starting to give it angles
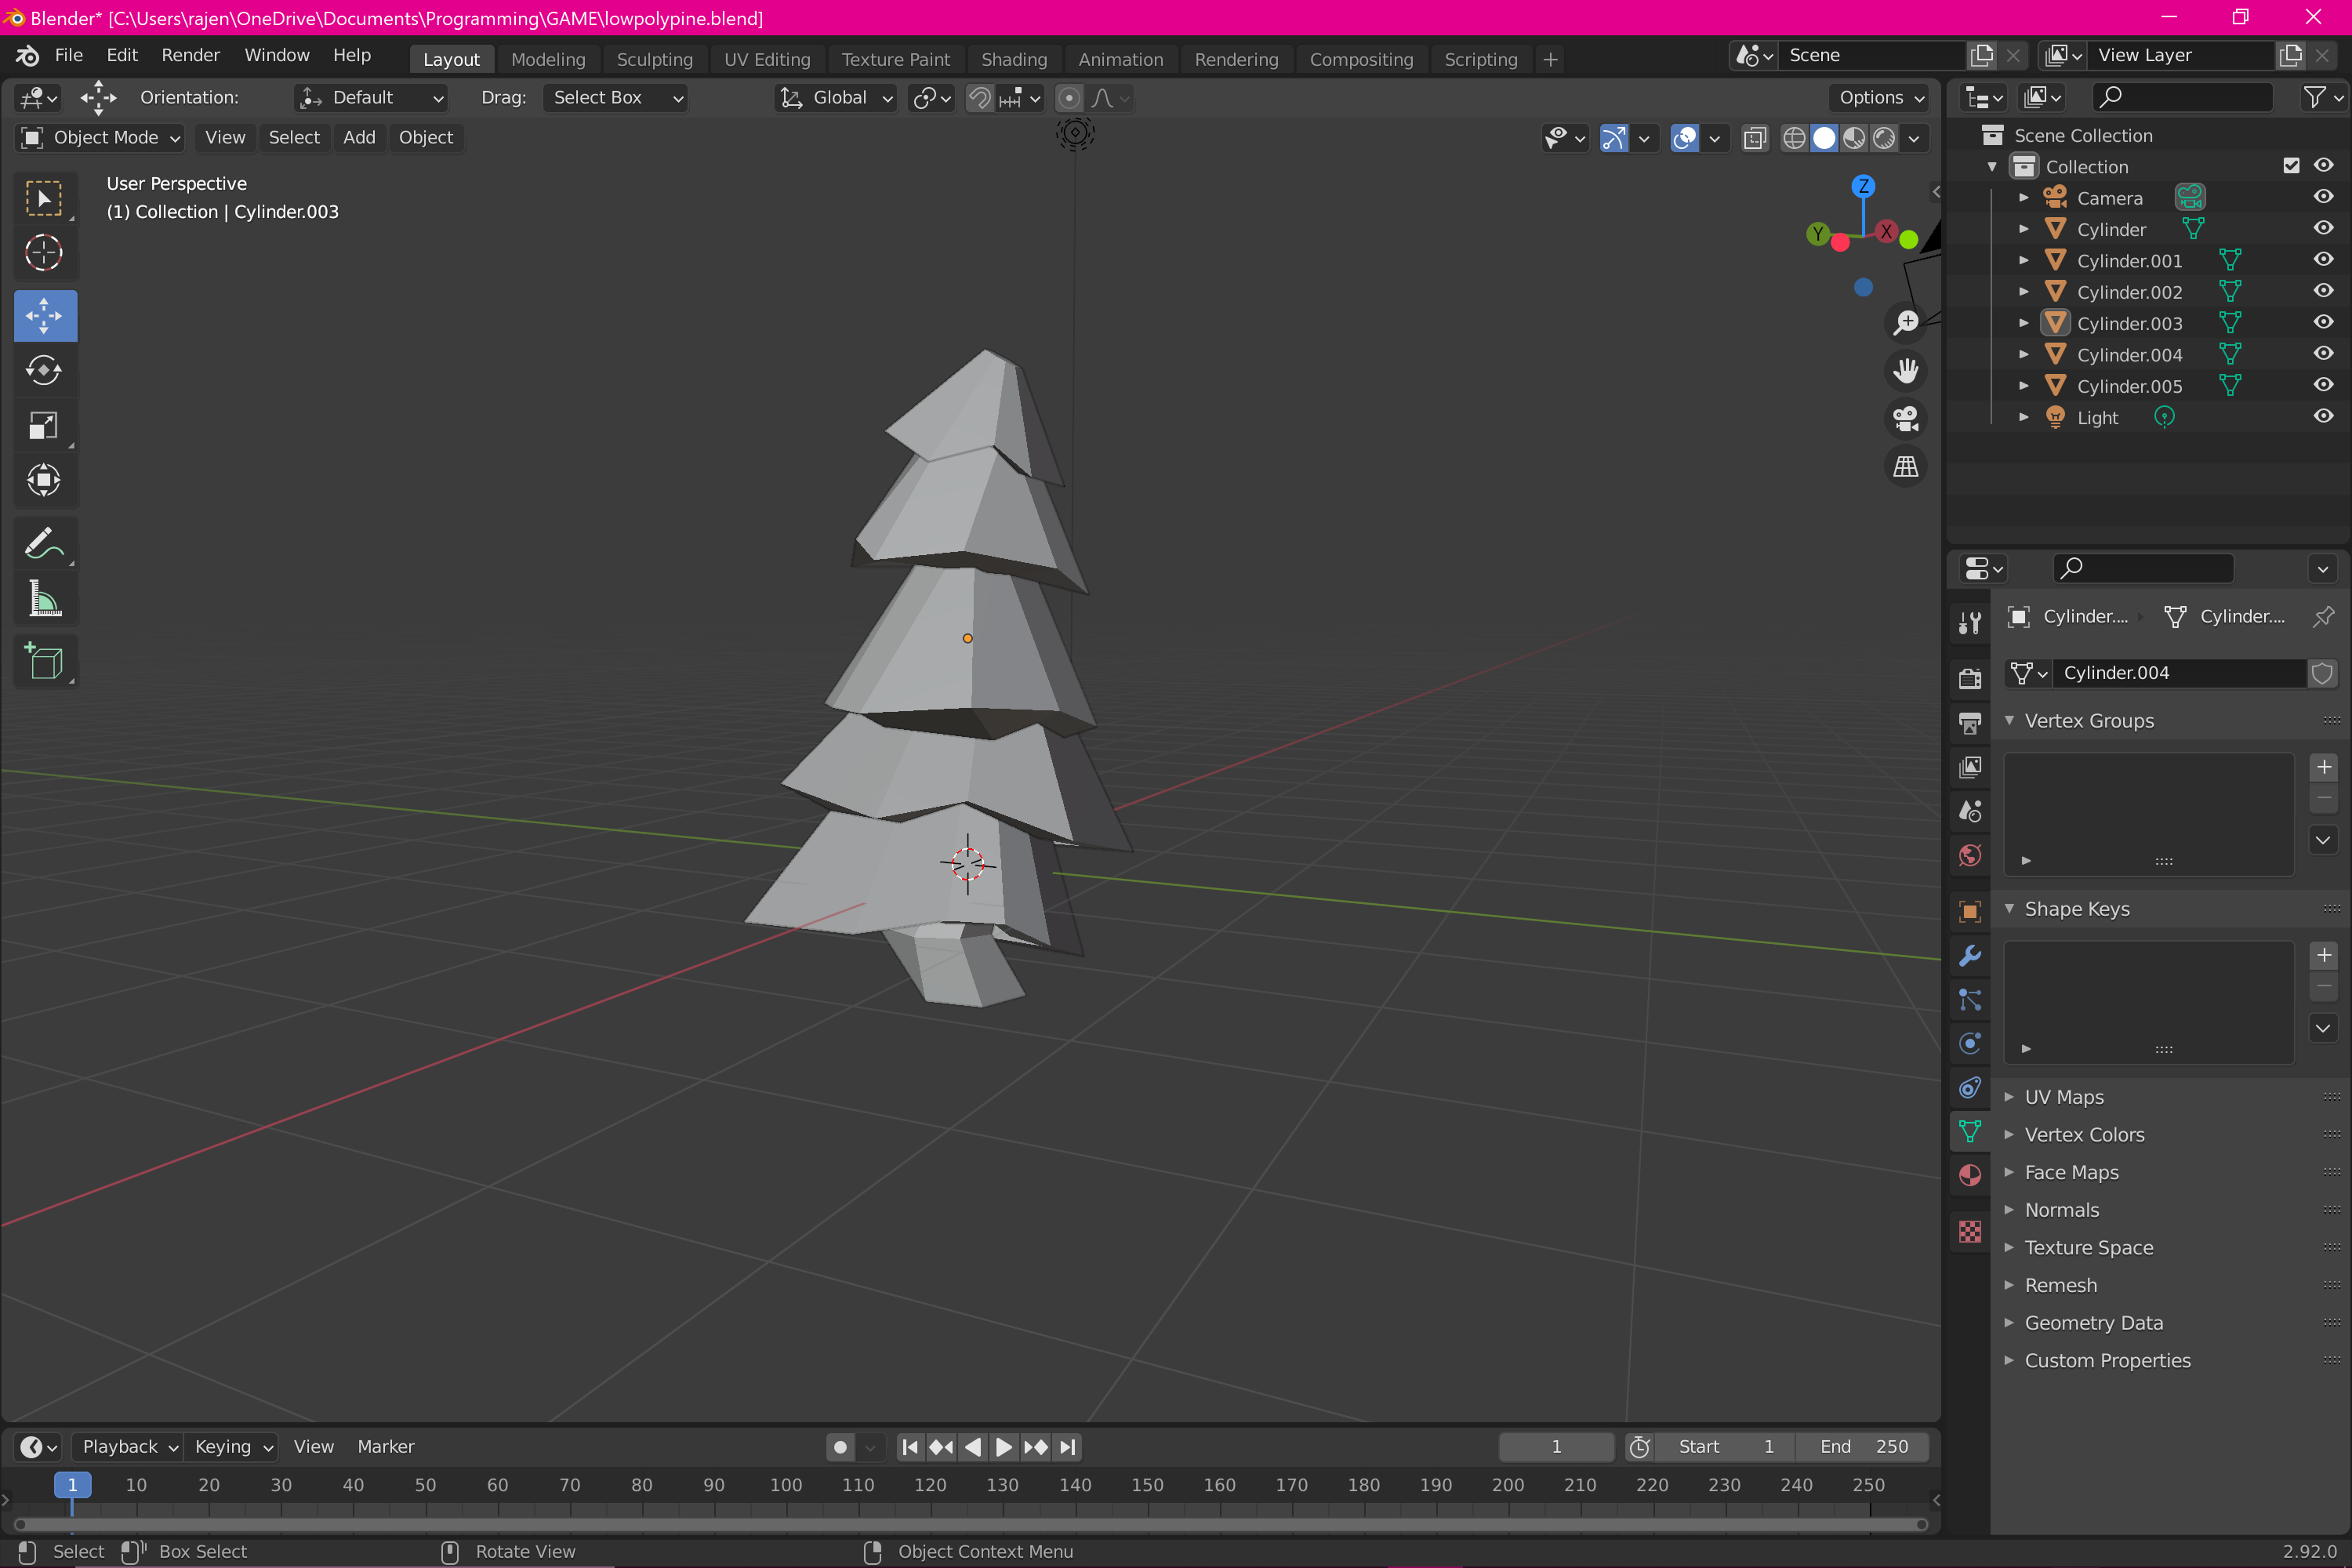
Here’s the more interesting gallery. I added Loop Cuts to make the tree more angular and interesting. Scroll for the build up.


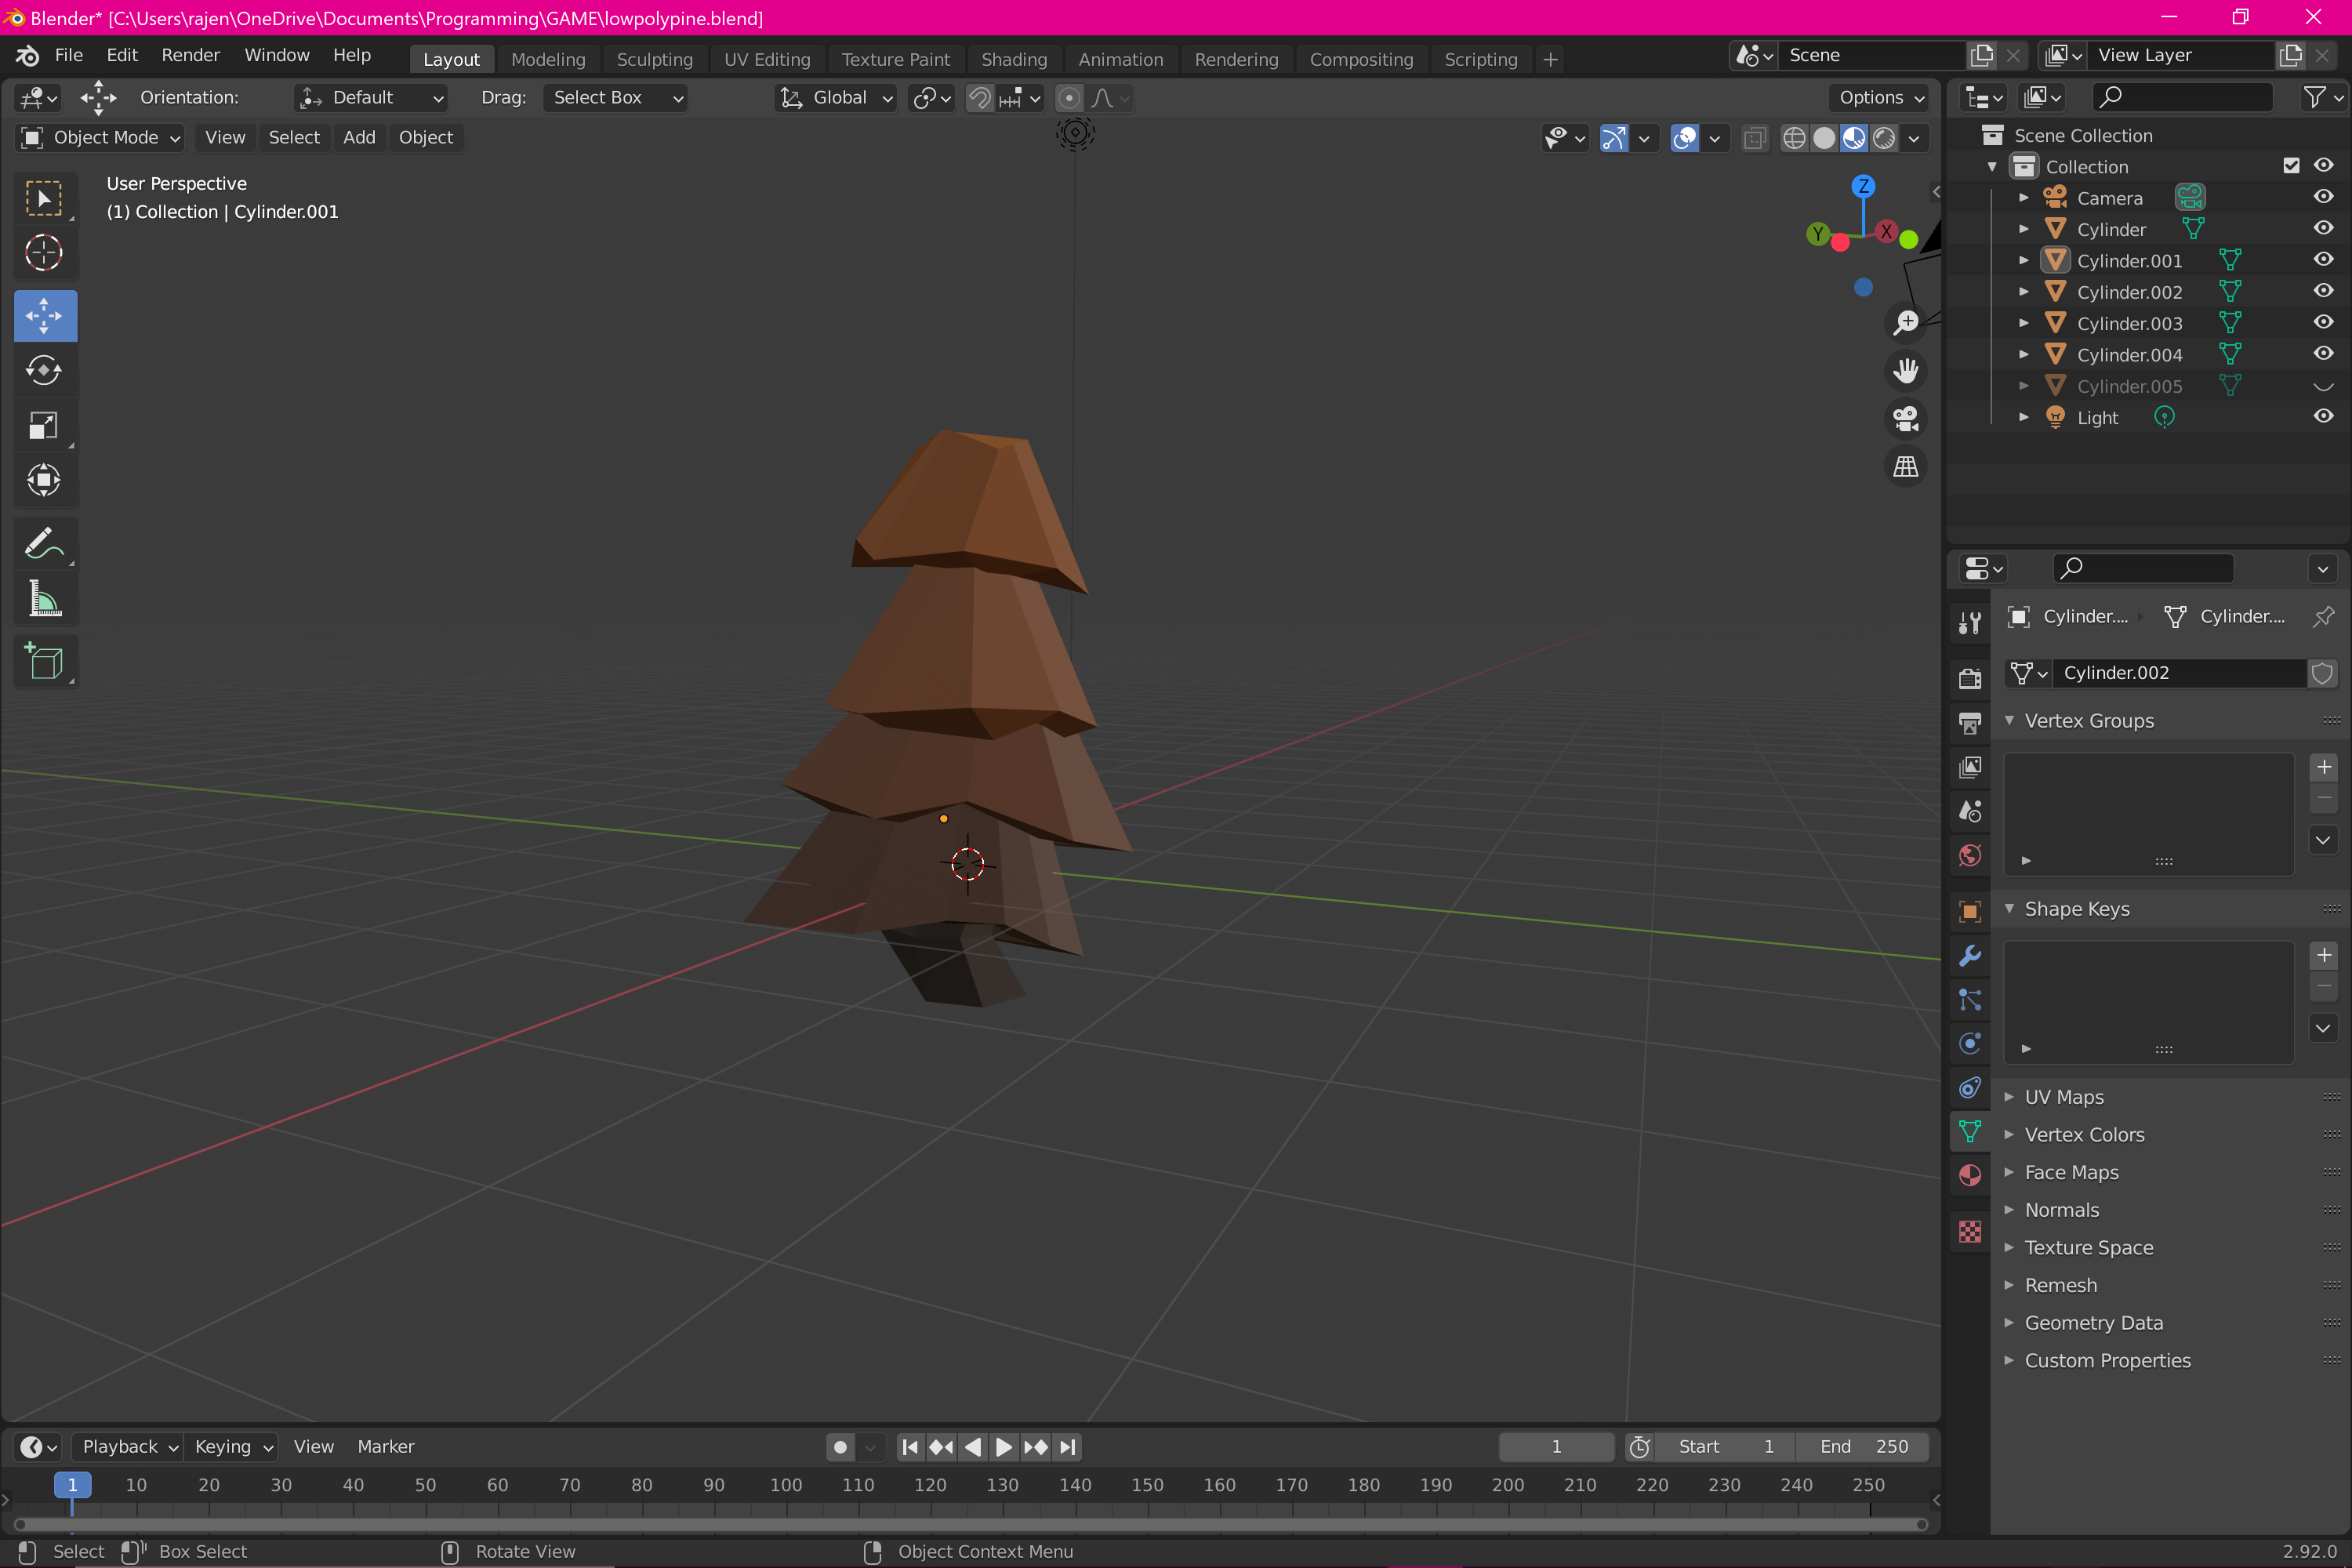

Remember to add the shaders! I turned Roughness up to 100% for a more grungy look. Go for your aesthetic! Lighter hues give a more pastel-ly look while more saturation gives it a bolder and more vivid look.
Here’s our beautiful low-poly tree for now. There’s still some adjustments that can be made, but right now we’re just seeing if it can be loaded in properly.
Clouds and rocks this and next week. The world is coming together!